Once in a while you will have to give a presentation showing code. My normal flow used to be copy-paste source code into notepad++ and copy-paste it with RTF syntax highlighting into PowerPoint (Notepad++ > Plugins > NppExport > Copy RTF to clipboard).
This used to be OK, but typically small edits done in the presentation file would result in small typos/bugs creeping in, leading to remarks during your presentation such as: “But that won’t compile”. This will distract yourself and your audience from your main message.
Wouldn’t it be wonderful if all the snippets in our presentations are actually compiled? All in a sleek reveal.js presentation? Stored in a plain text format that you can store in version control?
Using Jupyter notebooks in combination with 2 powerful extensions enables just that.
Jupyter notebooks
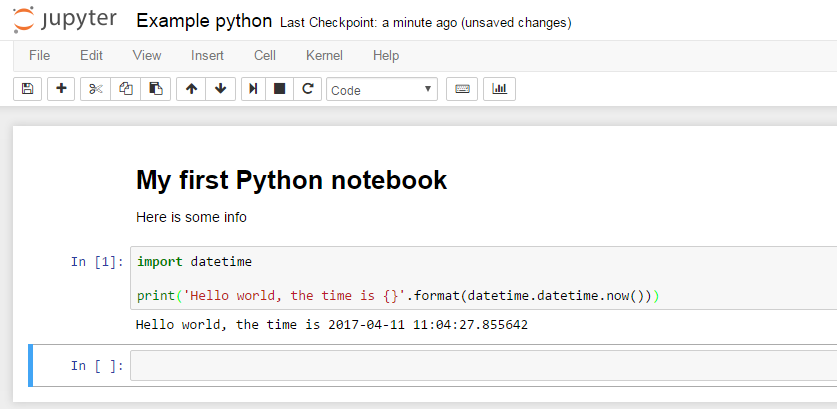
If you haven’t heard of Jupyter notebooks, definitely try it out at try.jupyter.org/ (for python/R/Haskell/Julia). Jupyter notebooks make it possible to mix markdown and code allowing for executable documentation. These can be exported to PDF, Presentations, Markdown, LaTeX, HTML etc. Below a simple python notebook.

Installing jupyter
I prefer to keep my development away from Windows on my windows based corporate laptop, so I have a virtual Ubuntu machine running on it. Jupyter is just a pip package that can be installed, so lets first create a python virtualenv to keep our system install clean.
mkdir my_jupyter_notebooks
cd my_jupyter_notebooks
python3 -m venv venv
source venv/bin/activate
pip install --upgrade pip
pip install jupyter
Now jupyter will be installed in your virtualenv and you can run the notebook
server locally. This means you don’t need to upload your corporate NDA’ed code
to “the cloud”. Note that by using the --no-browser flag, no browser will
be opened automatically.
jupyter notebook --no-browser --ip=0.0.0.0 --port=8080

[I 11:26:35.132 NotebookApp] Serving notebooks from local directory: /home/vagrant/jupyter-demo
[I 11:26:35.134 NotebookApp] 0 active kernels
[I 11:26:35.134 NotebookApp] The Jupyter Notebook is running at: http://0.0.0.0:8080/?token=186245d879e07463e68964720f3469648b7170ea48060b21
[I 11:26:35.135 NotebookApp] Use Control-C to stop this server and shut down all kernels (twice to skip confirmation).
[C 11:26:35.136 NotebookApp]

    Copy/paste this URL into your browser when you connect for the first time,
    to login with a token:
        http://0.0.0.0:8080/?token=186245d879e07463e68964720f3469648b7170ea48060b21
As you can see in the above output, a link will be shown in the terminal with a secret token. If you copy paste this link into your windows environment browser you should be able to show your notebooks. Make sure you have forwarded the 8080 port to 8080 on your host machine. You can create a new notebook and play around (for now only for Python).
Once you are done playing, you can stop your jupyter notebook server by
pressing ctrl-c twice in the terminal it is running.
Jupyter C kernel
Jupyter notebooks support a lot of languages (see the complete list of kernels).
For this post I want to focus on c since that is the main language I use. I’ve used the jupyter-c-kernel succesfully.
This kernel allows you to compile c using gcc directly from the Jupyter notebook.
Setup
To install it follow the instructions
there,
make sure you have all the dependencies installed!
I followed the manual instructions from within my virtualenv:
pip install jupyter-c-kernel
git clone https://github.com/brendan-rius/jupyter-c-kernel.git
cd jupyter-c-kernel
jupyter-kernelspec install c_spec/
After everything is installed you can once again start jupyter notebook and create a c-notebook:
jupyter notebook --no-browser --ip=0.0.0.0 --port=8080
Below you can see a small C notebook example. Once you have typed in the code
in the code cell, and press shift-enter the code will be compiled and run
by the gcc kernel.

Stop your jupyter notebook server again by pressing ctrl-c twice in the terminal it is running.
RISE
But I promised you a sleek Reveal.js presentation. Another great plugin for jupyter notebook is RISE. It converts your notebook into a true Reveal.js presentation.
Setup
This is again just a pip package to install in your venv, but you need to configure jupyter to enable it:
pip install RISE
jupyter-nbextension install rise --py --sys-prefix
jupyter-nbextension enable rise --py --sys-prefix
Once installed, you can start the notebook server again:
jupyter notebook --no-browser --ip=0.0.0.0 --port=8080
This time a new button was added to the interface when you have a notebook open with which you can open your presentation.

If you press it your presentation is started.
Configuring the presentation
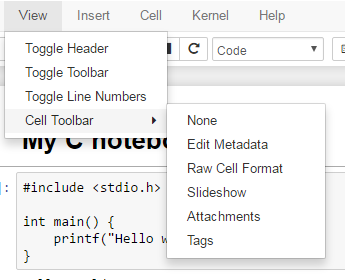
We now have a presentation, but of course we want to have some control over the contents. A notebook consists of cells which can be code or markdown. To control how they are shown in your presentation you can use the cell toolbar. Open it from the view menu as shown below:

Using this toolbar you can configure how a cell is shown in the presentation or even skipped.

Final slide show
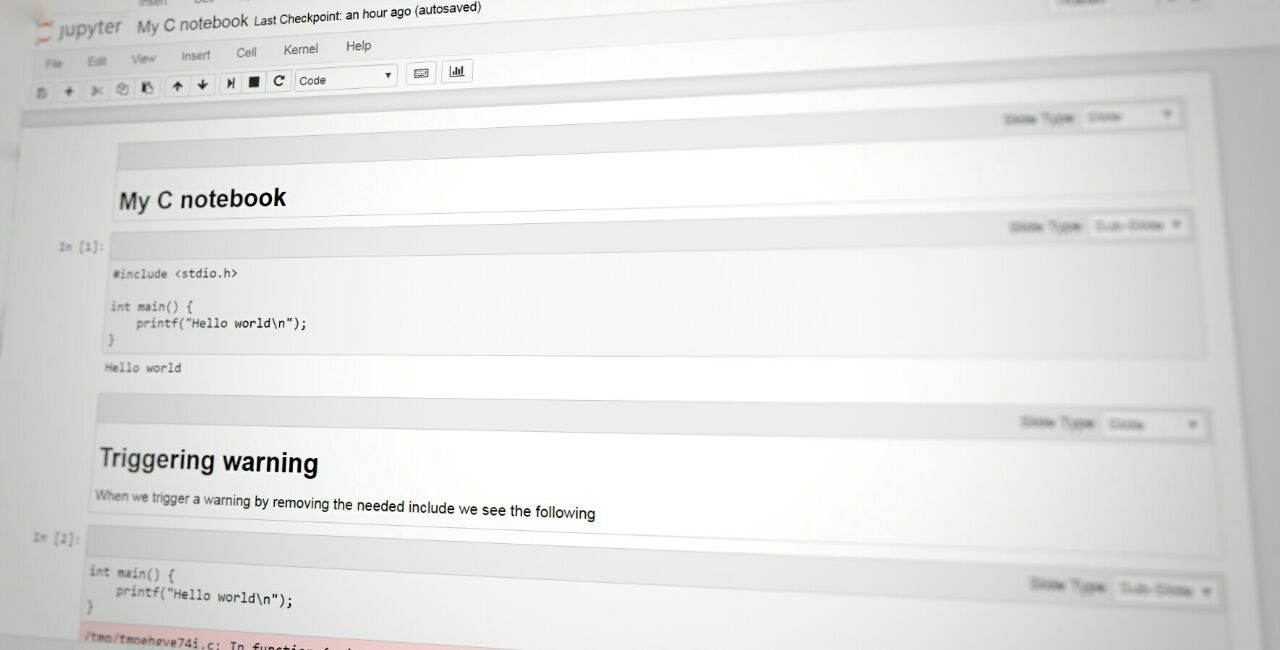
Now if put all the pieces together we can create a notebook with some compiler errors and warnings.
Notebook

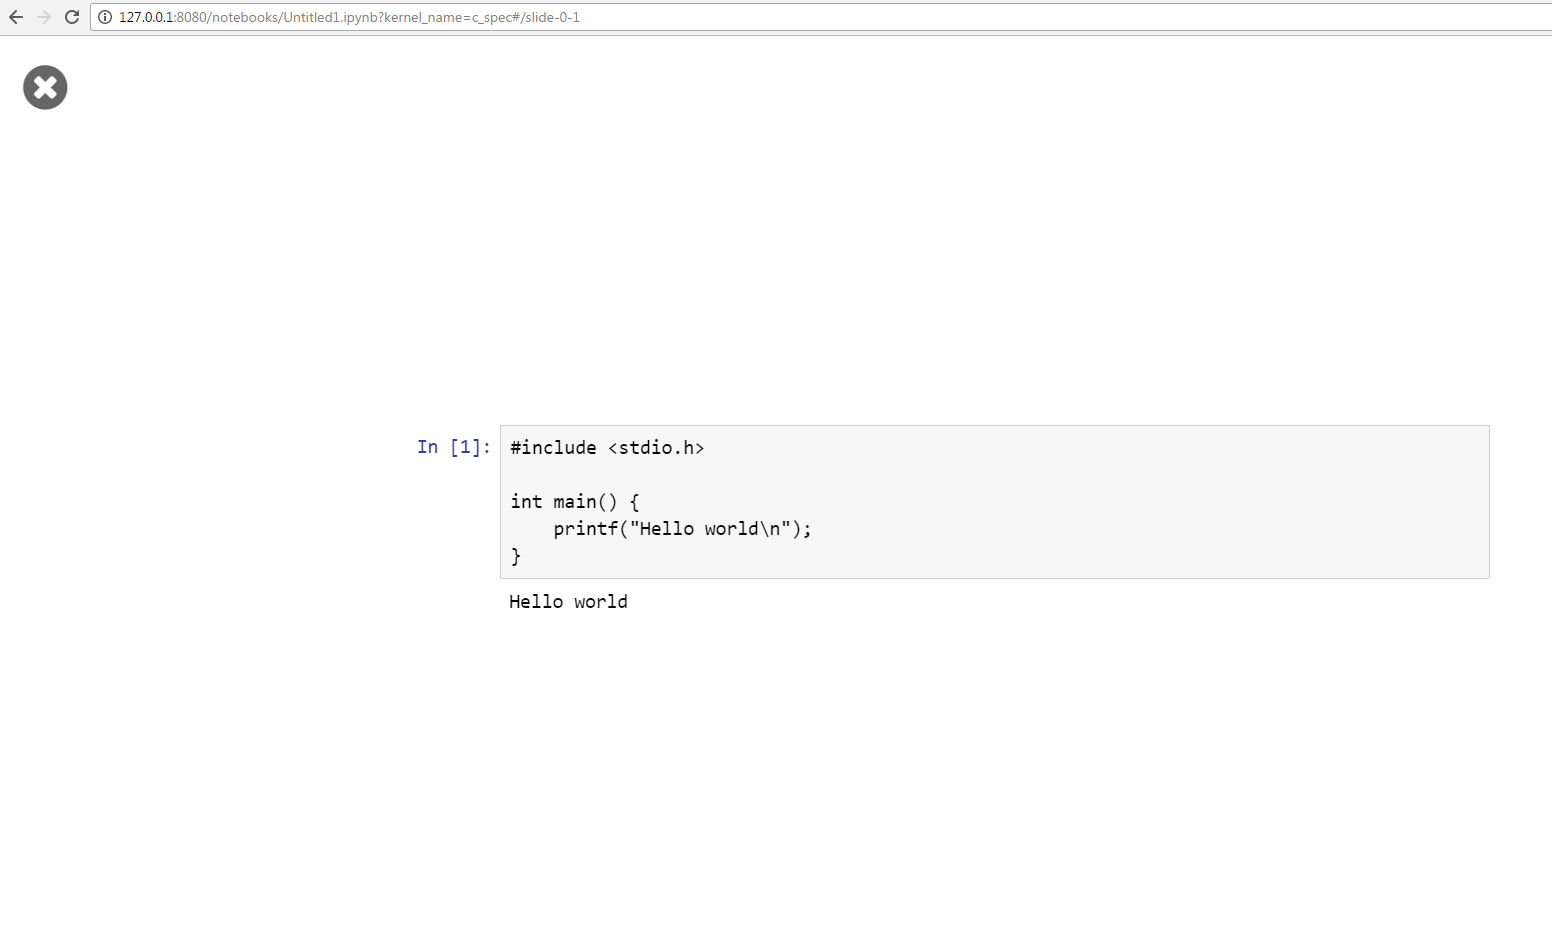
If this is converted into a presentation the slides look like:
First slide

Second slide

Conclusion
Although this does not look very impressive, I would advice you to start playing with it to feel the speed of creating great presentations.
You can customize the presenation further but that is outside the scope of this article. See the “Configure your own options” section at the RISE repository.
Drawbacks
Some major drawbacks of the current C-kernel are that:
you cannot add linker-flags(Fixed it in PR #26)you cannot provide args(Fixed it in PR #27)- you cannot provide input from stdin
- it is not possible to split your implementation over multiple cells. You always need a complete and valid C program (with
mainfunction) for the compiling to succeed.

